This post contains affiliate links. Learn More
Learn how to transplant Tomato plants – and why it’s important to transplant tomato seedlings!
Whether you start tomato plants from seed, or you purchase tomato plants at the nursery, it’s important to transplant them again before planting them outside in your vegetable garden.
Unless you buy tomato plants in 2 gallon pots, you really do need to transplant them a few times before settling them in their final growing spot.
We start tomatoes plants from seed, keeping them under grow lights in our warm seedling room. We will usually transplant them into larger pots at least twice before transplanting them into the ground in our greenhouse.
How to Transplant Tomatoes
Planting Tomato Seeds
I start seedlings in recycled Styrofoam coffee cups (or any other free container I can find). Check out all the strange containers I start our seeds in. The tomato plants get a great start and they can stay in that container until they are root bound.

Once the seedlings get root bound in the small containers, it’s time to get them transplanted into larger containers.
One of the most important things I have learned about growing tomatoes is that they NEED to be moved into a larger container at least once. Why?
Why tomatoes should be transplanted
The most important reasons you should transplant tomatoes? Every time that you transplant your tomato seedlings, you help the stems become thicker and stronger!

This is so much better for the fruits that will come along later. The thick stems and branches will help to support the weight of the tomatoes.
Another reason to transplant tomatoes? The healthier the stalk, the healthier the plant. Leggy seedlings will equal leggy plants.
Leggy plants won’t yield anywhere near as much fruit. And the whole plant will need a LOT more support by way of stabilizing stakes and ties.
Leggy Tomato Seedlings
See how tall and spindly this plant is? This plant is in desperate need of transplanting into a larger container. It also should have had a support stick set in the cup. Tying the tomato stems to the stick would help support it.
A few more days like this and this tomato would probably fall over and break its stem. Who wants to go to the trouble of seeding cups, watering them daily and then just watch the seedling fall over and die?

Preparing to transplant tomato plants
Cleaning the Pots
To get ready for the transplanting, I scrub out all the 1 gallon pots I need. The general rule of thumb is to transplant the seedling into a container “one size bigger” than the one it has been in. I usually cheat on that, and go up two sizes, but no more.
A one gallon pot has a diameter of 6 – 7 inches and that works well. These one gallon grow bags are great for growing tomatoes.
It’s really important to wash your containers out before you put another plant into them. Even though we don’t use fertilizers, the containers all still need a good scrubbing.
It would be best to do this outside in the warmth and then let the sun dry out the containers.

Adding Soil for Transplanting Tomatoes
I put some new potting soil into the new pot, filling it approximately half full. It just depends on how tall your seedlings are. Potting soil is full of nutrients, like phosphorus, nitrogen and potassium. It’s important to use good quality soil.
We prefer to use organic compost and potting soil, but you can use fertilizer added soil if you like. When we eventually plant these seedling into the greenhouse, we will add some calcium and bone meal, but not at this stage.

Once you add it to the pot, then give it a good watering. Then I turn my tomato seedling upside down, making sure to splay my fingers on either side of the main stem. I do this to protect the seedling from falling over and splitting. Always be sure to support that stem!
When the plants are this tall, it is really easy to have the seedlings topple over and split their main stem.

A nice looking root ball with some roots going all the way to the bottom. These are the makings of a great root system, which will only improve after transplanting. I should have watered all of these just before transplanting and you can see that the soil is dry.
I like to gently pull some of the roots apart so that as soon as they get soil packed around them. This way, they are ready to start growing outwards instead of downwards.

Transplanting Tomatoes – Pinching off those lower leaves
When you transplant tomatoes, pinch off one or both of the lowest leaves on the stem. Doing this means you can bury the stem deeper which will really benefit the plant.
The deeper you can bury the stalk, the better. This is why you want to transplant into deep containers. Burying the stalk deeper also means you will have a thicker sturdier central stalk. Exactly what you want.

Tie up Tomato Plants
Now it is time to tie the tomato stems to a stake or stick. I’ve just pushed a tall bamboo stake into the pot next to the stem. It’s tall enough that it can stay with the plant right up to transplanting into the greenhouse.

Always stake tomatoes; if you don’t, they can easily break or they will grow along the ground where the fruit can come into contact with the soil and start to rot.
Velcro Plant Ties for Tying Tomato Plants
Here’s what I use to tie my tomato plants. I love using these Velcro plant ties. I can just cut a tie as long as I need. Then I carefully wind the tie around the stake and the plant.
At the end of the season, I untie and toss them all in a bag. Put them away downstairs and use them again next year. These ties can be reused for years.

I use at least two ties to a plant this tall. Use as many as you need to support the plant all the way from bottom to top. I like to have a few extra ties on there so as the plant grows, and needs more support, I can just move one of those extra ties.
I do the same thing once the tomatoes are planted in the our hand made Greenhouse. Having those extra ties right there saves me a fair bit of time once the plants starting putting on a lot of growth.

See how easy it is to attach the ties? You just wrap the Velcro over itself. The last step is to give each pot a really good watering. Use lukewarm water – never water your seedlings with cold water.
Reducing Shock in Tomato Transplants
Remember that plants go into shock when they are transplanted. Do all you can to get them comfortable as soon as you can. I should have watered both the plants and the soil in the new pot before doing the transplant.

Here are a few of the transplanted tomatoes, back upstairs sitting in the dining room. You can see in this picture how tall those plant stakes are. All that’s needed now is light, warmth and water.
These plants won’t go out to the greenhouse for another 3 weeks at the very least. Read here about how to transplant tomatoes into the greenhouse or garden.
Transplanting Tomato Plants in the Garden
When you are ready to transplant your tomatoes into your garden, digging a deep hole and trying to plant the seedling on a bit of a sideways angle will strengthen your stem even more.
Add a tomato cage around each plant, setting them as deep in the ground as you can. Using cages contains the growing plant nicely, and it can take the weight of the fruits as they grow.
Mulch around the plants with a layer of straw, which will conserve moisture as well as keep down the weeds.
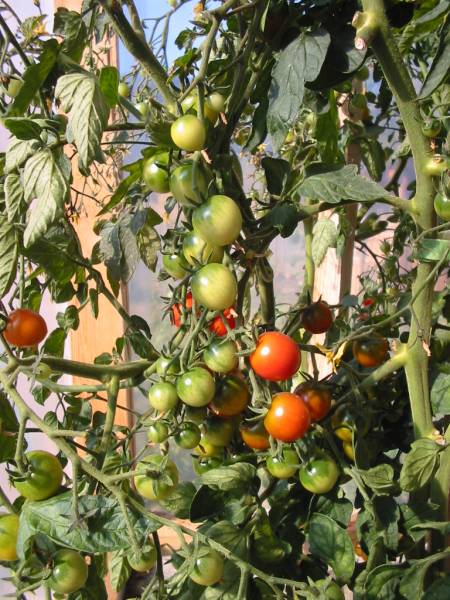
Plant your tomatoes where they will get at least 7 hours of direct sunlight. Regular watering is important, as well as keeping an eye on your plants for pests.
Transplant tomato plants at least once before planting outside; you will have healthy plants and a larger harvest!

Thinking of getting a Greenhouse? Read about how we were able to build a greenhouse for less than $200
You don’t need to spend a lot of money on containers for starting seeds indoors. Here’s what I use as containers for starting seeds. Recycle!
If you want to grow Raspberries, here’s one of the MOST important things you need to do
originally published June, 2019; latest update January, 2023