This post contains affiliate links. Learn More
Want to learn how to grow beets? This article with give you the best gardening tips for growing beets.
Beets are such a versatile vegetable, great for growing in your garden this year. Beets are great for a beginner or seasoned gardener. Learn how to plant, nurture and harvest your beet crop this growing season.
From choosing the best beet varieties for your climate to planting seeds at just the right depth and spacing, and more, this post will guide you on how to grow your own beets.
How to Grow Beets
Plant Beets from Seeds
You can plant beets from seeds directly into your edible garden. I don’t bother to start beet seeds in the basement under lights.

There are lots of different varieties and if you are going to pickle beets you may want to grow cylinder beets for uniform slices. We usually plant the Detroit Dark Red variety here.
Plant your beet seeds as soon as you can get into your garden. You can also grow beets in any large container; just drill a few holes in the bottom for drainage.
Beet greens are very pretty, so tuck a few beet plants in among your flower beds.

You’ll notice that each beet seed is actually a cluster of 2-4 seeds. During the time it takes for the seed clusters to germinate in the soil, you’ll want to keep the soil moist in your edible garden.
You can plant all your Beet seed at the same time or do succession planting. Planting some seed every 2 weeks will ensure you always have nice sized beets for meals.
Succession planting works great for those who have small garden areas and a longer growing season.
Use it for vegetables such as any kind of lettuce, Swiss chard, spinach, or other greens, radishes, and other quick-growing vegetables.
Why You Need to Thin Beet Plants
Since beet seeds come in clusters, you’ll have this extra step of thinning out once the clusters have germinated.
As soon as you see your beet seeds starting to germinate and grow, you’ll need to thin out your beets in your edible garden. The biggest thing is to ensure you have time for germination and get the young plants in the ground and thriving during the proper cool-season crop timeframe.

The best recommendation is to have 9 plans per square foot, although I personally like to have them closer together. I replant all of the beet plants I thin out.
Appropriate Spacing to Grow Beets
As you work to thin out your beets, remember that beets aren’t particularly fond of crowding.
You’ll want the seeds to be planted about one inch deep with 3-4 inches in between each plant.

You can sow beets closer together if you plan to use the greens for a salad, but it’s not recommended if you want to grow larger beets.
As the beets grow, I keep thinning out the plants that need the extra space.
I always make home made Pickled Beets, so we use all the thinned plants with small roots for this.
Sun and Water Requirements for Growing Beets
Beets enjoy full sun and like about 1 inch of water per week. Make sure they don’t get too much moisture, as it can affect the growth.
Remember that beets are cold-tolerant, so you can plant the seedlings in early spring.
This means your beets can be prepared about 6-7 weeks before your last frost date, as long as you’ve selected a full-sun location in your edible garden.
Preparing the Soil for Growing Beets
Beets grow best in loamy, acidic soil with a pH level of 6.0 to 7.5.
If your edible garden soil is too rocky or alkaline, you may add compost to achieve the right pH for maximum beet harvest. You can use fertilizer or even mix sand in with your dirt, but make sure the nutrients match what is needed for optimal minerals and acidity to the soil.
Pick a Time for Harvest
This easy-to-grow vegetable has more leniency with harvest planning. If you want to harvest beets in the spring season, then plant your seedlings between March and mid-May. I like them to be about the size of a golf ball for the best flavor.
If you’re looking to harvest fresh beets for the holiday season, you’ll want to plant your seeds 8-10 weeks before the first expected frost date. You will harvest a bunch of beets with each of the beet roots you pull up out of the ground.
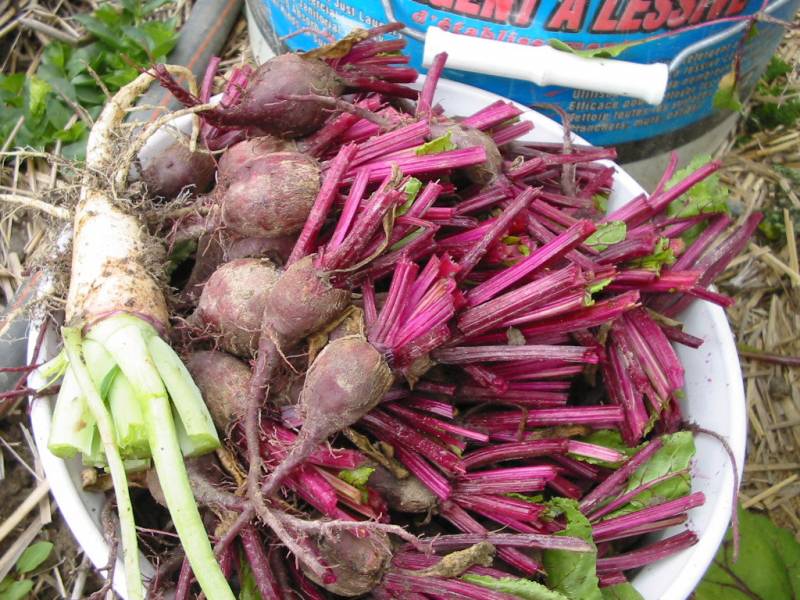
Those beets in the photo are destined for turning into Pickled Beets. That’s a Rutabaga in the harvest bucket with the small beets.
The beet greens have been cut and will be blanched and frozen for winter use.
Harvesting Beets
Beets can be harvested at any time, so as long as the roots maturity are around 1-2 inches in diameter.
These small roots are called baby beets, and they make an excellent treat because you can eat both the beets and beet leaves.
If you want to wait, you can wait until the roots are about 7 inches in diameter for larger beets.
Beets are one of the easiest vegetables to grow. You’ll find that beets are rarely bothered by pests that can sneak into your edible garden. Just make sure to weed in between growing to prevent it from stunting the plants’ growth.
Beets are also super easy to tend to, just sow the seeds and wait 6-8 weeks to harvest midsummer to late fall.
I hope that these tips to grow beets will encourage you to grow some beets in your edible garden this year.
Using Beet Greens
Beet greens are delicious and are a wonderful addition to leafy salads. You can eat the leaves when they are small or large, they are always tasty. I find that growing my own vs. getting it from the grocery store tastes different.

You can preserve beet greens by blanching and then freezing them. Here is how you can freeze leafy greens – serve them warm as a side vegetable.
You can also use them in smoothies – beet greens are highly nutritious.
Originally published Apr 2020; latest update March 2026