Country Living in a Cariboo Valley

Homesteading in BC

  • How to Get Started
  • Vegetable Gardening
  • Preserving Food
  • Recipes
  • Homemade Wine Recipes
  • About Us
  • Work With Me
  • Shop
    • Vegetable Garden Planner Printable: Grow Your Best Garden Ever
    • Grow Enough Food for a Year
    • Delicious Dandelions: A Recipe Collection
    • Dirt to Dollars: Selling at the Farmers Market
    • 8 Pounds in 8 Weeks: Raising Chicks for the Dinner Table
    • Making Wild Wine
    • Build a Hanging Chicken Feeder
    • 15 Things to Know About Living in the Country

Search Results for: woodstove

How to Make Strawberry Wine

By Annie

Learn how to make strawberry wine using fresh strawberries from the garden or frozen strawberries will work as well.

Strawberries are one of our favourite fruits that we grow here in our garden. If you’ve got lots of strawberry plants, here is a strawberry wine recipe for you to try! Just a couple of ingredients are needed to make this easy version of Strawberry wine.

Glasses of strawberry wine on table
Learn how to make strawberry wine with this recipe.

This home made fruit wine is light and makes a nice dessert wine with a fruity flavor and taste. Before I get to the wine recipe though, I want to share just a little bit of information about how we grow our strawberries.

Since strawberry plants are a perennial fruit, they will die back in the fall, lay dormant over winter, then start growing again in the spring.

If your plants are treated right, you can grow a lot of huge strawberries every year. Read more about what you really need to do in order to grow big strawberries. There are some important pruning tips in that article, that will be of help.

We grow everbearing strawberries in a raised bed and because we use those tips every year, we grow lots of berries. Healthy, big juicy strawberries. 

We eat lots of fresh berries and once we have had our fill, I start making Strawberry Freezer Jam. This recipe is an easy way to make homemade jam and I don’t even need to can it. I just store the jars in the freezer and pull one out as we need it.

When we have a banner berry growing year and I’ve made enough jam, we will make some homemade Strawberry wine from our strawberries. It’s fairly easy and the wine is tasty, light and fruity. 

How to Make Strawberry Wine

You can use either fresh strawberries or frozen strawberries to make this home made wine. Since 5 cups of strawberries are needed to make one gallon of wine, I just pick ripe berries, measure my quantity, write a note on the ziplock bag and set it in the freezer.

The next time I pick, I again measure my berry harvest, add it to the same bag and make a note. Once I have 5 cups, I can get started on my small batch of berry wine.

This recipe makes a 1 gallon batch of Strawberry wine. If you want to make big batch Strawberry wine, just adjust the recipe accordingly.

Homemade Strawberry Wine Recipe

Weigh out a total of 5 pounds of strawberries. Wash the berries and hull them, so there is no stem, cap or leaves on the berry.

You can use either a crock or a fermenting bucket; add the berries to the container and, using a potato masher, mash them well.

(If you are using frozen berries, this part is much easier. You will find, as the berries thaw, they release a lot of liquid. Just mash as needed.)
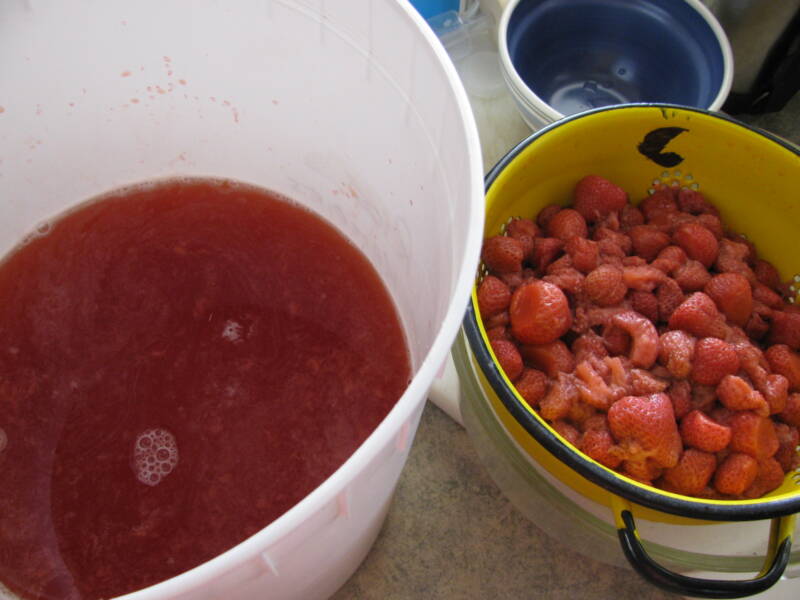
Frozen strawberries thawing in a colander beside a pail of juice.
Use a colander to set frozen strawberries in to thaw.

You can also just set the frozen berries in a colander, above a large pot and let the berries thaw, straining the juice into the pan. Using this method means you will easily have removed all bits of the berries, leaving just the strawberry juice to be added to your fermenting container.
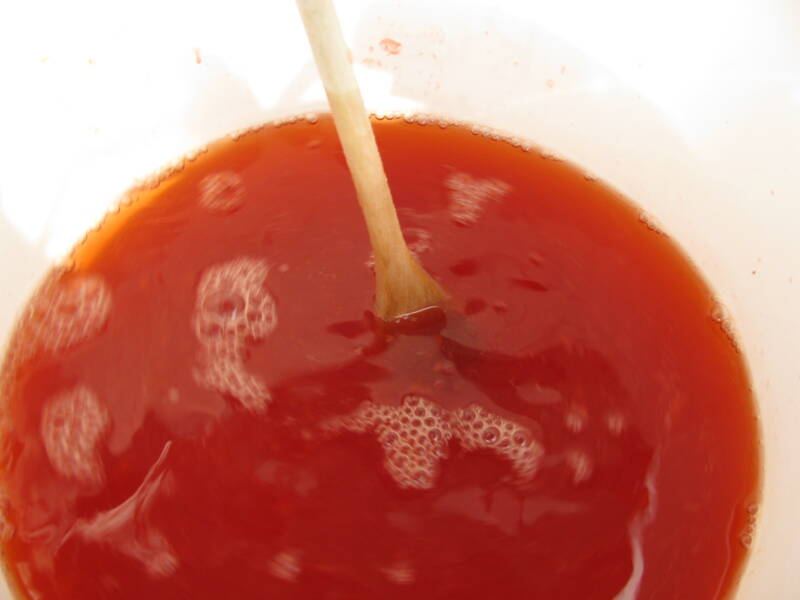
A fermenter of strawberry juice being stirred.
Add your strawberry juice to a crock or fermenter.

To the juice, add enough boiling water to have a total amount of liquid close to 1 1/3 gallon, roughly, it doesn’t need to be exact. 
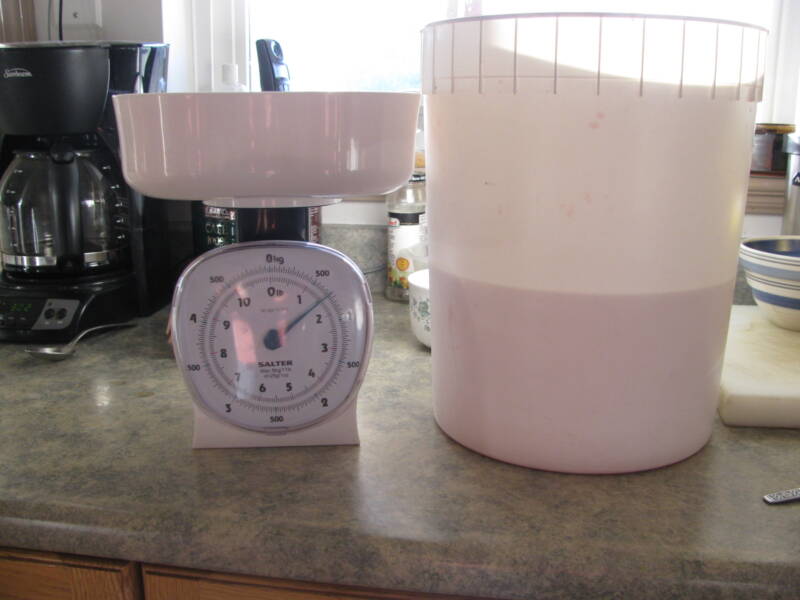
sugar sits in a scale beside fermenter full of juice.
Measure out sugar and add to the liquid.

Adding Sugar to Strawberry Wine

Using your kitchen scale, weigh out 1 1/2 pounds of sugar and add it to the liquid in the primary fermenter, giving the mixture a really good stir. Leave it alone for 10 minutes to let it settle down from the stirring.

Now, evenly sprinkle 1/4 tsp of wine yeast nutrient across the top of the liquid; don’t stir it in. Cover the fermenter or crock and let it sit in a warm place. This will help the yeast start working, to get things fermenting.

Note: If you possibly can, set your primary at counter level. Then, later when you rack it down, you can easily rack it down into the jugs, which need to be at a lower level. If you need to move the primary at all, you will be disturbing all the sediment that has already settled to the bottom.

Every day, remove the lid and just vent off the liquid a bit by waving your hand over the top of the open fermenter. Then recover it until the next day.

Racking Wine

After one week, the wine is ready to be transferred to jugs (or if you are making a larger batch, transfer the wine down to a carboy). You can also use wide mouth mason jars with these special fermentation lids.
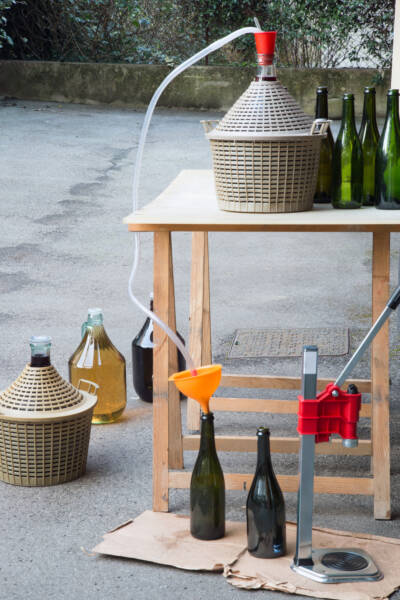
homemade wine bottling with the Carboy and glass bottles
Use a siphoning hose for racking the wine.

The transferring is called “racking”, as in you are racking it down from the primary fermenter into a secondary fermentation vessel.

Use a siphon hose like this one to easily rack the wine. Keep the hose off the bottom! This way, you will be leaving any sediment behind on the bottom of the primary fermenter. If you mashed the berries in this same container, there will be lots of berry bits, so try to leave these behind as well.
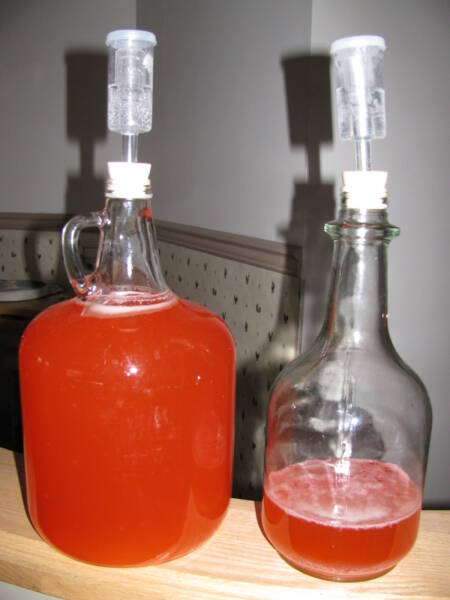
 

Jugs of strawberry wine with bungs and airlocks
Add a bung with an airlock to the filled jugs.

When the wine is racked, add a bung with an airlock with water in it. Leave it sit for at least one week before racking it again.

One of the primary purposes of racking is to leave the sediment behind. The wine will be racked several times over the next weeks and in the end we will be left with clear wine, which is exactly what we want.

We set the jugs on a table fairly close to the woodstove; you want the wine to be warm enough to continue fermenting.

When the wine stops fermenting (no more air bubbles forming and releasing in the airlock), leave it for another week. Then it is ready to bottle.

After bottling, set the wine in a cool dark place; we like to lay them on their sides. Leave them for at least six months before opening, but longer is better.

Strawberry Wine Questions and FAQ’s:

How much fruit do you need per gallon of wine?

For each gallon of wine, 5 pounds of fruit is required.

How many pounds of strawberries does it take to make 5 gallons of wine?

​To make 5 gallons of wine, you need to use 25 lbs of strawberries.

How do you store strawberry wine?

You can store your homemade strawberry wine at room temperature for up to one year. Before serving, you may want to put it in the fridge, as it is best served at a temperature between 7 – 9C, which is roughly 44 – 48 F.

Do I have to add Campden tablets to the wine?

You can, but we do not add Campden tablets to our strawberry wine.

Glass of strawberry wine in front of fresh strawberries.
Pin for later!


More Wine Recipes:

Here are some of the other types of fruit wine that we make here, plus we’ve got vegetable wine and even a homemade flower wine!

Learn about wine you can make from your garden harvests.

This blended Saskatoon Raspberry wine is one we make every year; it’s a delicious red wine!

If you’re harvesting lots of Rhubarb, try this homemade Rhubarb wine!

This delicious Parsley wine has hints of citrus, thanks to the addition of an orange and a lemon.

Ever tried homemade Carrot wine? It’s light and yes, it tastes like carrots. It also has a bit of citrus added to it.

We make this Dandelion wine almost every year. Since we don’t spray our lawns at all, it’s perfectly fine to pick dandelion flowers to make this delicious light wine.

Learn more about the process of making wine.


originally published 2011; latest update January 2023

Filed Under: Homemade Wine Recipes

How to Find Free Firewood for Your Wood Stove

By Annie

Finding free firewood can save thousands of dollars every year!


Filling the woodroom – it’s one of our Top 5 “W” chores every spring. And we have been hard at it for the last several weeks. And we love heading out to the bush where we’ll find free firewood! 


A woodstove is blazing thanks to finding free firewood


Once winter temperatures hit -20C, we turn on two basement baseboard heaters, just so water lines don’t freeze. The house stays toasty warm with our woodstove going all day and night.

We use quite a bit of firewood every winter. This is why we need to make sure we have a completely full wood room every year. There would be nothing worse than running out of dry firewood and having to buy it! In the middle of winter, we would be paying a huge premium on that firewood.

This year, we had to take down quite a few trees on the site of the new garlic curing sheds. Now, we have plenty of Aspen trees to buck up and turn into firewood. That solves our wood problems for the later part of this coming winter.

But, that wood won’t be totally dry until February or so. We have some leftover wood from last winter, but not enough to last us until this new wood is dry.


finding free firewood, heating with wood, woodstove


Finding Free Firewood

We need to find free firewood that is already dry and we have a lot of that in our bushes. Because of the pine beetle that devastated stands of timber in our area several years ago, there are still plenty of dead (but standing) pine trees out there.

Of course, there are also many felled trees that we can use for free wood. Fallen trees are the easiest because the tree is already dead and perhaps has been for a year.

Since the trees are already dead, the wood is dry. Quite nice being able to drop a tree, buck it up and throw it right in the woodstove for some nice heat!

We had a very bad windstorm last week, where the power went out again (thank goodness, we are prepared for outages!). After the storm passed, we went looking for newly fallen pine trees. Bonus that they had either fallen right on the bush road and right next to it.


finding free firewood, fishing, bc, cariboo lakes


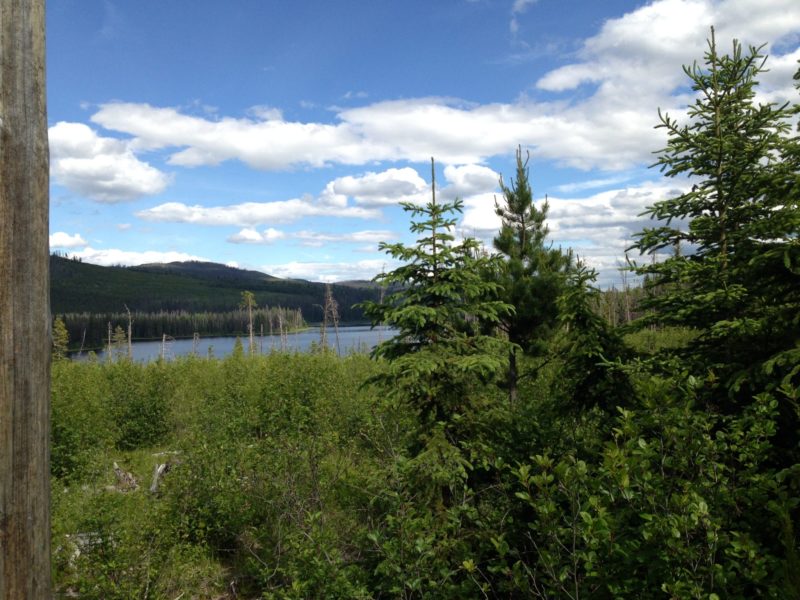
A pretty lake along the way. The Cariboo has more lakes than the days in the year, seriously! It’s fishing is known world wide.

 chain saw, free firewood, heating with wood, Husqvarna,


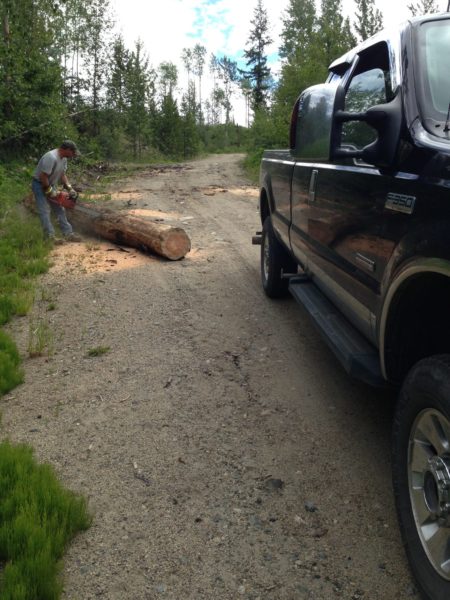
We were able to find a few trees that were still laying across these unused roads. We just take the limbs off using the chain saw, and then Graham bucks up the tree. I load the rounds into the back of the truck. And since this wood is dry already, it is quite light for me to load!

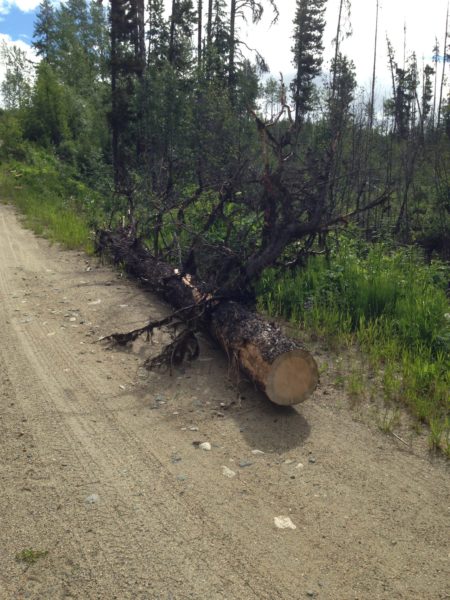
For the trees that needed to be hauled out onto the road, Graham attaches a shackle around the tree trunk and attaches the other end of the chain to the truck. Then we drive the truck along the road and pull the log out of the bush.


A large tree with dead branches


This makes it so easy to haul out and buck up. We found lots!


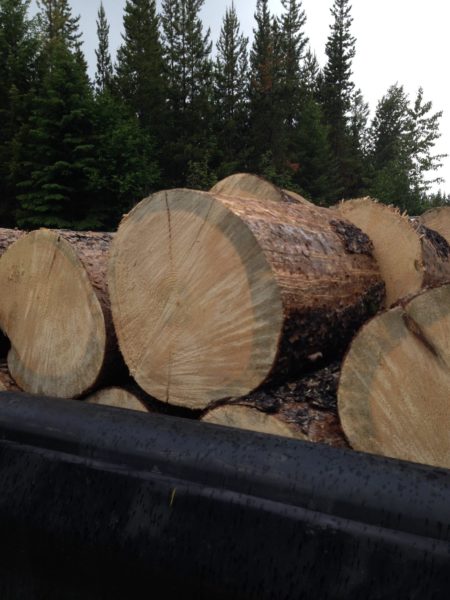
A truck filled with fire wood rounds for bucking


At the end of the day, we came home with our truck loaded with dry wood, ready for splitting and stacking. We use an electric wood splitter; we bought it a year after we moved here and it is still on my list as one of the best investments we ever made!

Remember, if you are in the market for a woodstove, be sure to buy one that has a flat top! There’s an important reason for that! Not only will your stove heat your home, you will be able to cook on it.


Permits for Finding Free Firewood

Check with your province or state for laws about finding free firewood in the bush. In some places, you need a permit to gather firewood – it is often free to get a permit, you just need to have one before cutting down trees.

If you live in town and can’t get out to the bush, there are other options for free firewood. Check with your local construction companies and go around to construction sites. 

Many times they will allow you to take away their scrap lumber for free. It works out well for both, the company does not have to pay for hauling the lumber scraps and you get to have free fire wood.

Also you can check with your local tree company which takes down dangerous trees. They may allow you to take the wood for your own use. Your local Facebook marketplace is another resource you can use.


More related to finding free firewood:

Everything you need to know about how to clean out a wood stove

How to cook on a wood stove (that’s not a cook stove)

We use a wood stove fan to help push the heat – read our review here


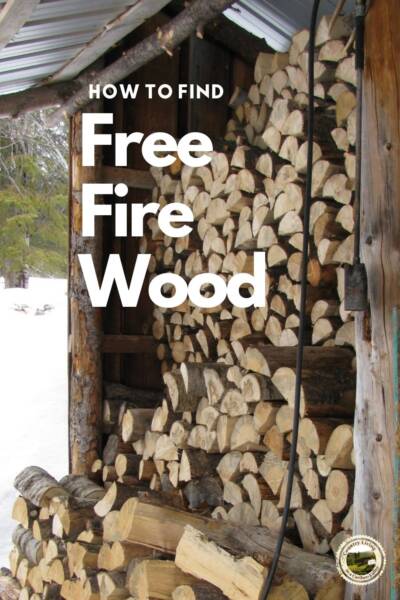
free fire wood stacked in a wood room
A wood room full of free fire wood


Filed Under: Heating with Wood

What IS a Self-Sufficient Lifestyle?

By Annie

Self-Sufficiency – what IS it and WHY would people want it? In a nutshell, it’s that peaceful feeling of knowing you are responsible for yourself and your family. And you are prepared, as in, you have some food stored and are able to take care of your family in an emergency.

Here’s what Wikipedia has to say about it: Self-sufficiency is the state of not requiring any aid, support, or interaction, for survival; it is therefore a type of personal or collective autonomy.


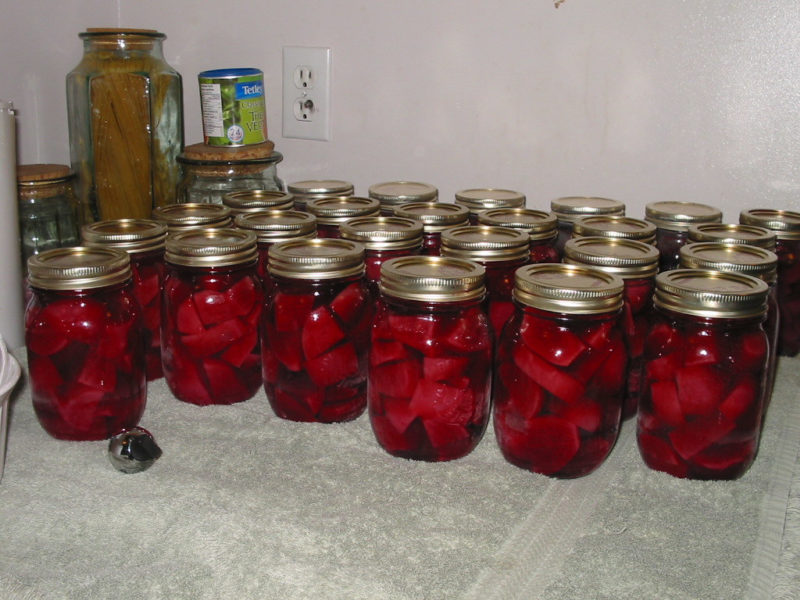
home canned goods waiting to be put in the food pantry


Reading that sentence shows me that it would be extremely hard to be totally self-sufficient.

Even hundreds of years ago, people relied on interaction from others for survival.

What is Self Sufficiency?

When I read about the many pioneering families who settled in the Cariboo, they relied on others. Families settled sometimes in areas where there were no close neighbours, and were very self reliant.

Still, there was more of a sense of community with other people and a willingness to help others.

Schools that were built in our area were of course built completely by hand, most often using logs. Those schools were built by local people. 

It was the fathers of the settled families who came together and realized that their children needed education.


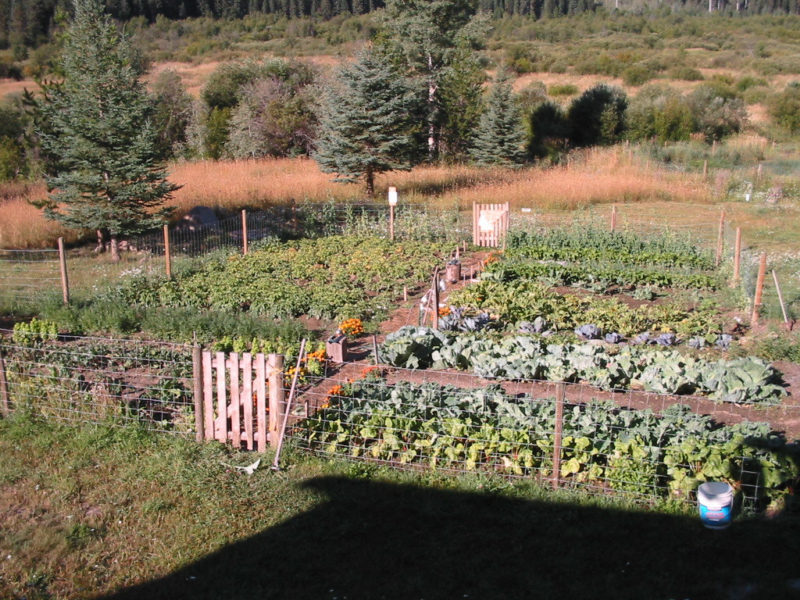
a garden full of food is helpful for self sufficiency


I have read many times that, in efforts to settle new areas in the Cariboo, schools were built in areas where there were only a few families.

Even if those families did not have enough children to warrant a school being built, the building was still put up.

If one area had enough (or too many) children for a school, then the parents of those families would send one of their children to live with new settlers in another area.

Yes, the children were sent to people who needed higher enrollments in their area to justify having a school there!

I am using this as an example. It is my belief that even self-sufficient people rely on outside sources for “things”, whether it be goods or services.


a food garden is an important part of self sufficiency


Self Sufficiency is a Process

To me, Self-Sufficiency is not an end state – rather, it is a process.

A process of beginning to realize that there are other ways to do things and other ways to support your families, rather than buying everything at a store and counting on your local, county, provincial, national and federal governments to help YOU.

At the beginning of developing more of a Self-Sufficiency mindset, maybe the first thing people should think about is having some supplies on hand.

There could be a weather or other emergency happen. Maybe one parent gets sick and loses an income. These are valid reasons why you should have some things in storage at your home.

Basic Needs in an Emergency

Keep enough water stored for your family’s drinking needs and for flushing toilets. These types of preps will mean that your family will be less stressed in times of emergency.

Think about heat and how it could be provided if the power is out (wood stove). Think about some food supplies – canned and dehydrated foods. This will mean your family will be able to eat at home if the power is out.


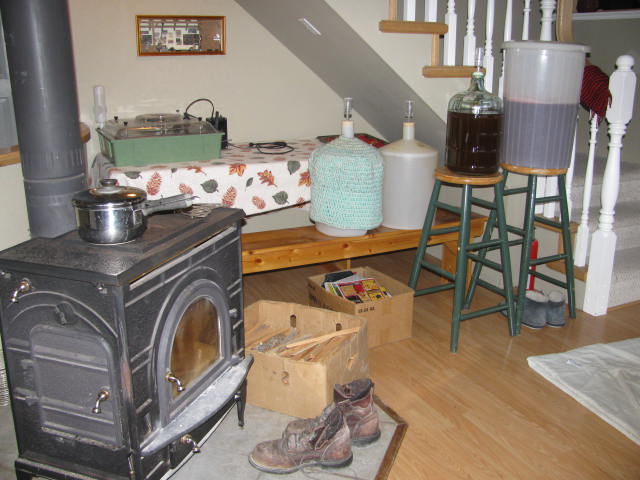
A woodstove burning with a pot cooking on top. Work boots in front drying, and carboys of wine being made.


But it’s about more than providing for the very basic necessary needs of you and your family.

Think about the “Reduce, Reuse, Recycle” commercials that you see and hear. If you practice the 3 R’s, that is being more self-sufficient than others who simply throw the plastics, etc into landfills.

To me, Self-sufficiency means spending less money, providing more for yourself, and being LESS reliant on others.

The other extreme, in my opinion, to Self-Sufficiency and that is hoarding. The show “Doomsday Preppers” has brought the whole prepping topic right into your living room once a week.

I have watched the show a couple  of times and I do agree with some of it. However, I think it shows pretty extreme prepping (not that there’s anything wrong with that. You go ahead and fill your bunkers).

For us, there were lots of reasons why we wanted to become more self-sufficient. 


Why we try to become Self Sufficient

We were moving out into the country, where the grocery store would be 40 minutes driving time. I don’t know about you, but I am NOT making that trip to town three times a week.

Our income and expenses had changed. We moved to a place where the real estate was a lot less expensive, even when buying lots of land.

Graham stopped working full time and so that freed up time for us to work on the property. Much of that work was put into vegetable gardens.

We like food on the table, and we like good food. Growing what we were going to eat was the best way for us to spend a lot less money. It also ensures that what we are eating is healthy for us, instead of sprayed with chemicals.

We wanted a quieter pace of life. We got that and also developed some wonderful friendships with the folks that live around us.

Neighbours here help each other and encourage each other.

There are times when we rely on the community. According to Wiki’s definition, that wouldn’t be very self-sufficient of us!


Read this article about how we set up our homestead here – it has our

whole first year laid out here.

What we did first, what we added, etc.


Links of interest:

Planning a food garden – how we figure out what to grow, when to grow it and how to grow it!

How we grow a lot of our own animal feed – for pigs, chickens, cattle

How to get the very most out of a small vegetable garden

How we make use of a pressure canner to can our own food


If you’re interested, follow our  Self-Sufficiency pinning board on Pinterest.

Filed Under: Self Sufficiency

How to Properly Layer Clothing for Winter

By Annie

Once the cold weather sets in, it gets a bit more difficult to spend time outside. Especially if you aren’t dressed properly. Do you actually know how to layer clothes for winter?

Many people don’t. But you should – it’s an important part of staying warm when you are outside.

The wrong outerwear over a thin shirt is simply not enough. Knowing how to layer clothes for winter time makes the difference between comfort and freezing.

Layering Clothes for Winter

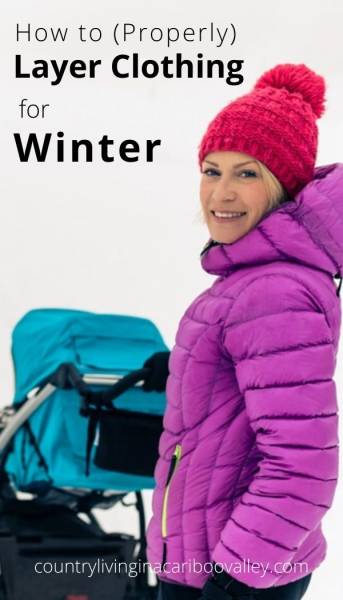
a bundled up women with a stroller in the snow

Proper layering of clothing is essential for every outdoor excursion, regardless of weather conditions. When you wear layers you are always warmer.

This is because warm air gets trapped between every layer of clothing you have on. We should be wearing four layers of clothing in cold winter weather.

If it gets warmer, just take off a layer until you need to put it back on. Here are some practical clothing layer combinations for winter and late fall/early spring weather.


Underwear/Synthetic Fibers


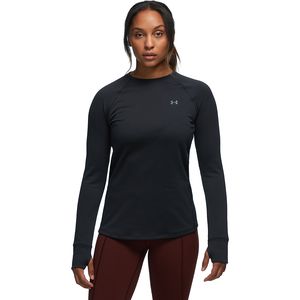
Wearing a good base layer is a key part of knowing how to properly layer clothing in winter.
photo credit: Back Country Under Armour


Many new synthetic fabrics used in outdoors apparel can come in handy, but only if properly coordinated with other clothing.

Although cotton is comfortable, it absorbs large amounts of sweat and is therefore a poor option for a first layer.

The layer with actual contact with the skin should be a synthetic fabric that is lightweight and warm.

Under Armor offers a great clothing line “Cold Gear”, which is utilized by outdoorsmen and competitive athletes alike.

These garments are designed to wick away sweat, while keeping body heat in. Staying dry and warm is the core purpose of layering clothing and Under Armor provides an excellent foundation.


Cotton/Wool Blends


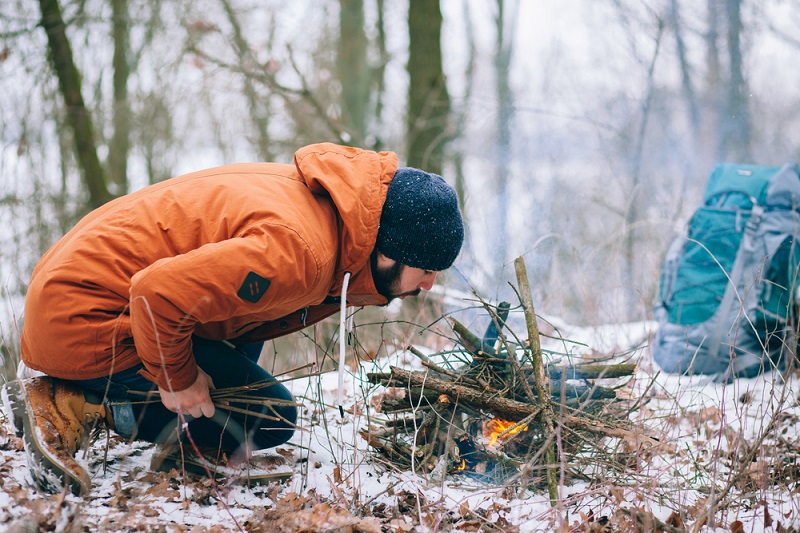
a bundled up man lights a campfire in winter


Depending on the weather conditions this layer is best suited for either thermal underwear or a warm cotton/wool blend shirt.

When camping in sub-freezing temperatures, thermal underwear would be advisable; however in warmer temperatures this would quickly become too warm.

While moisture from sweat should still be a concern at this layer, it should be fine to wear cotton blend articles.


Fleeces and Pants


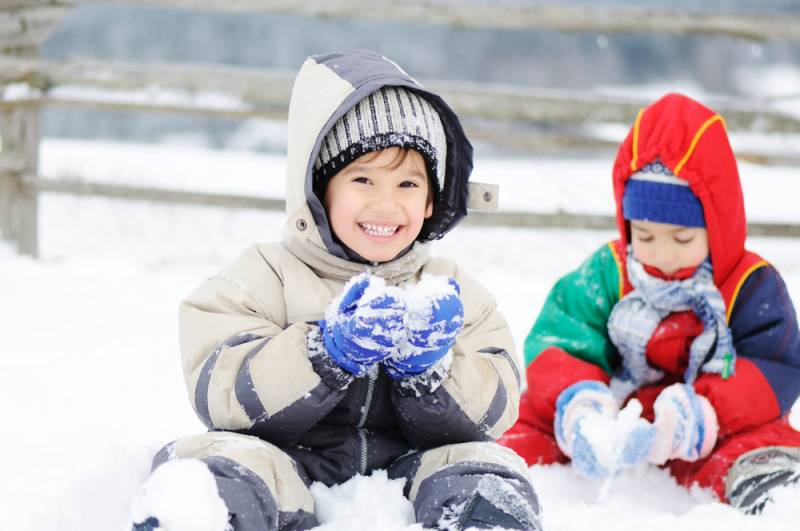
When you know how to properly layer clothes in winter, your kids can spend hours outdoors.


For the legs, it is often best to wear wool socks and waterproof snow pants. While there are many viable options available at outdoors shops, snowboarding or skiing pants are prudent options.

Many modern ski and snowboard pants offer a wide range of flexibility while providing adequate warmth.

As for the upper body, a warm fleece or wool sweater is recommended. It is important to keep in mind that any fleece you wear should be waterproof as well.

Remember, once your coat comes off in the warmth of the day, it will be exposed to the elements.


A Shell


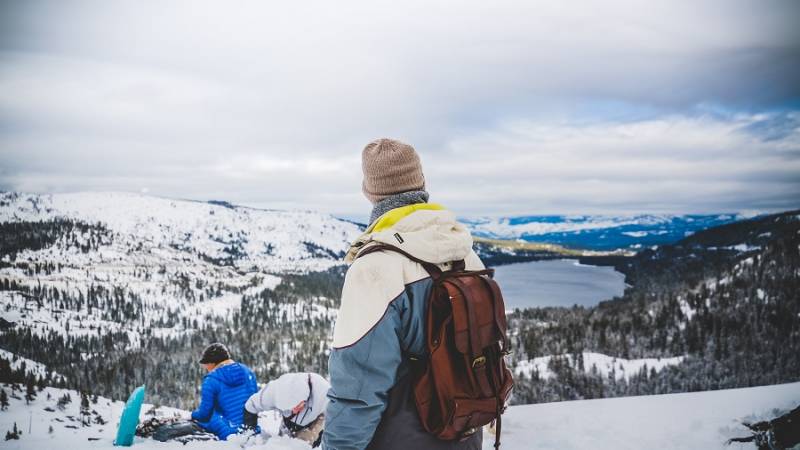
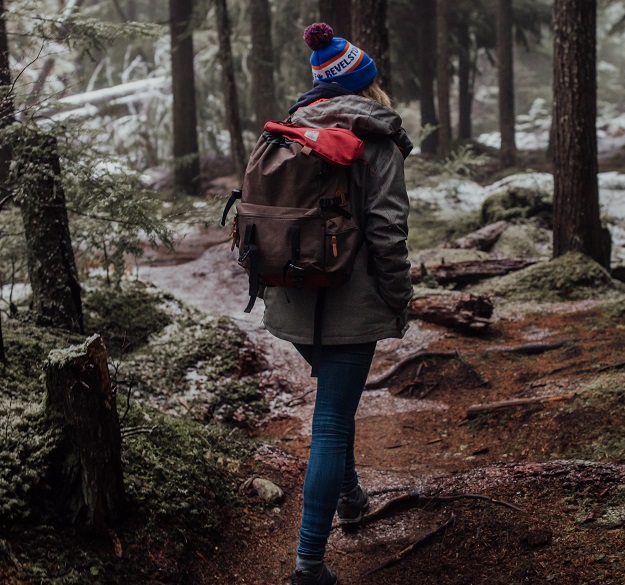
Spending a day hiking is more comfortable when you know how to layer clothing for winter.


At this layer, your objective should be to keep external moisture out. While your first layer should regulate body moisture, this layer should provide protection against all the elements.

Be sure to have a waterproof/windproof/insulated coat. These waterproof coats may be a bit pricey for the initial investment, but are well worth it in sub-par conditions.

Plus, great quality clothing lasts forever if it is taken care of. Consider this an investment and spend more money up front to never have to replace it again.


A Few Notes About Socks, Gloves, and Hats


Knowing how to layer clothes for winter lets you spend more time outdoors.


In most conditions you will not need to layer these areas, but in extreme conditions or on longer trips, it may be practical.

For the feet and hands, you can buy sock liners and thin gloves. Consider glove liners too, they can be a big help.


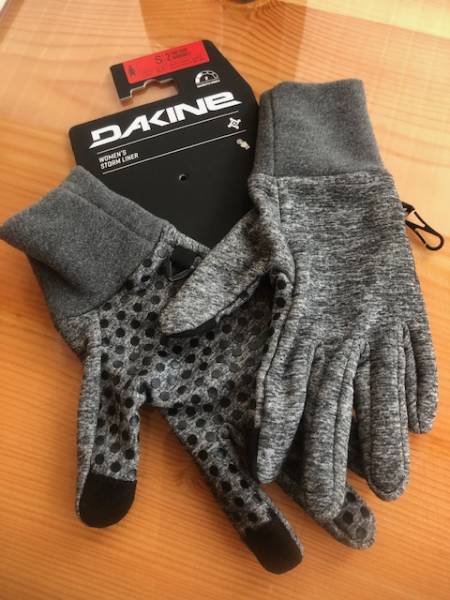
Glove liners on a table


These are the Dakine Glove Liners I recently bought and they are great. The liners keep my fingers warm in cool and damp weather. When it gets -20C, I’ll be able to easily wear these and then slip my hands into my big leather sheepskin gloves.

You should always look for waterproof, leather-upper boots.

For the hands, good quality mittens are really a much warmer option and allow adequate layering room if needed.

A bandana can be a practical option to further insulate your cranium, but cotton bandanas do tend to hold a good deal of moisture.

Under Armor also offers skullcaps to wick away sweat from your brow and keep you warm.


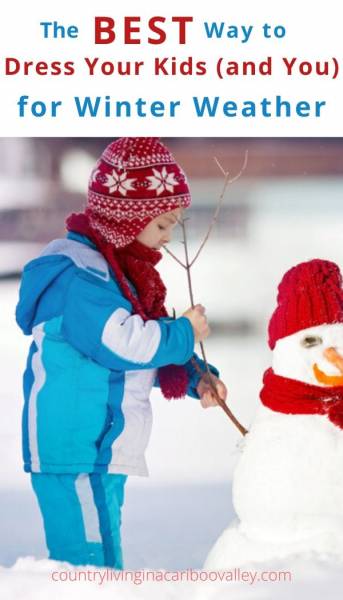
a warmly dressed child making a snowman


Layering is the easiest single way to protect yourself from the harsh elements of winter. Knowing how to layer clothes for winter makes all the difference in your comfort level.

Technological advances of the last 20 years have given us new ways to stay dry and warm in any conditions.

When used correctly, your clothing selection can be the difference between a miserable and a memorable trip.


Want to read more?

Snowshoeing in the Cariboo – a great way to spend a winter afternoon!

We have a wood stove, not a cook stove. But because of this one thing, we can make make wonderful meals right on top of our wood stove!

Do you have a metal roof? Here’s why you shouldn’t walk too close to your house on winter days.


Filed Under: Product Reviews

Practical Gifts for the Prepper

By Annie


Planning on shopping online this week? Here’s a few great gifts for preppers, foodies or the homesteading honey in your home. There’s a few stocking stuffer ideas too!


country homestead with garden and barn


Practical Gifts for Preppers

I’m still doing a lot of canning, but over the last couple of years we have started to dehydrate some of our food. Dehydrated packages and jars take up far less room than canning.

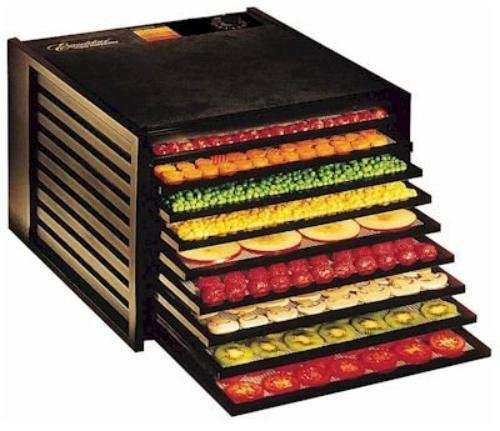
I can see dehydrating more and canning less as the years go by. You can get a small dehydrator like a Salton but they really don’t hold that much. Here’s the beauty we have.


Excalibur Dehydrator - the Best there is
photo credit: Amazon

Excalibur Dehydrator
550+ reviews
Amazon.com

I bought one and I love it. I use it for making apple chips and Rhubarb fruit leather. The Excalibur is a quality machine; it’s simply the best dehydrator on the market.

I had wanted one for years and I finally ordered one and I’m so glad I did. Next year I’ll be drying more of our vegetables for long term storage.
Continue Reading


Excalibur Dehydrator

I’ve got the 9 tray unit with the timer. We fill it full every time we use it, although you can run it with just a few trays if you like.

One note: I notice they are selling clear doors for their units, which cost a bit more. I wouldn’t bother getting it; I would never go by just looking in there to see if the foods were dry.

You need to check the food – is it pliable? Dried to a crisp?

I would definitely spend more to get one with a timer; I appreciate that every time I use it!

Continue Reading


The Most Essential Tool for Outdoor Life

Leatherman

How many times have I been down at the barn, only to find I need a pair of pliers to retwist the wires on some temporary fencing for the hens? Or need a screwdriver to tighten the strapping on our sprinkler lines?

Then, when I go to the barn tool cupboard, I can’t find what I need and end up walking back to the house to get what should have been down at the barn.

I don’t know about you, but when tools aren’t put back where they belong, I get totally frustrated. What a waste of time. Well, that doesn’t happen anymore! This is one of the most thoughtful gifts for preppers we have seen.


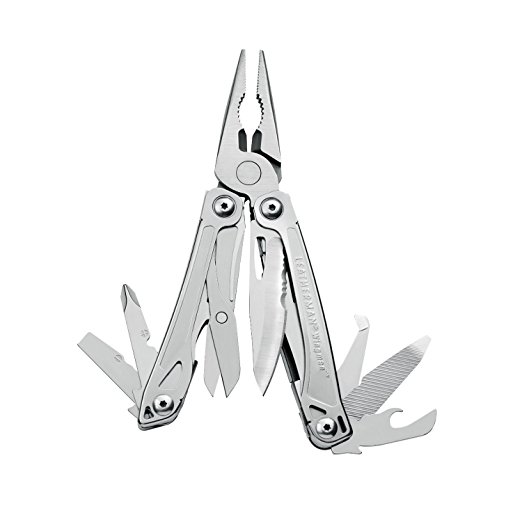
Leatherman Multi Tool
photo credit: Amazon

2500+ reviews
Amazon.com

This Leatherman Wingman Multi Tool is great to have in your jeans. There’s a reason this is the #1 Bestseller in multitools at Amazon.

No matter what kind of chore you might need to do on the property, you can probably use a Leatherman to get the job done. Made of stainless steel, they last forever and come with all of these features:

420HC Combo Knife, Spring-action Regular Pliers, Spring-action Needlenose Pliers, Spring-action Wire Cutters

  • Wire Stripper, Small Screwdriver, Medium Screwdriver, Phillips Screwdriver,
  • Spring-action scissors
  • Wood/Metal File, Bottle Opener, Can Opener

These are a great stocking stuffer and teenage boys LOVE them! I love them too!
Continue Reading


Presents Preppers Actually Want


Cooking on our wood stove is wonderful – we love it. Since we have a flat topped stove, we can easily make soups or stews.

Just get the meal ready in the morning, put the cast iron pot on the stove and get on with our day. There is nothing better than a cold morning, a hot wood stove, chores getting done and the whole house smells of wonderful soup!


lodge dutch oven is a great idea of gifts for preppers
photo credit: Amazon

Lodge Cookware is fantastic.
4000+ reviews
Amazon.com

Made in the USA (that’s important!) it is so durable it will outlast YOU.

This 5 quart, Pre-Seasoned Cast-Iron Dutch Oven with Dual Handles will work great on your wood cook stove, your flat topped wood stove or your campfire.

It’s big, so get a delicious pot of soup going and invite some friends over to share. Stew and dumplings cooked on a wood stove in the winter – that just can’t be beat.

Comes with a lifetime limited warranty against defects, and when cared for properly, this virtually indestructible pan should last for generations. Another one of those gifts for preppers that will be really appreciated!

Continue Reading


an axe in a piece of wood by a fire


Lodge Cast Iron
photo credit: Amazon

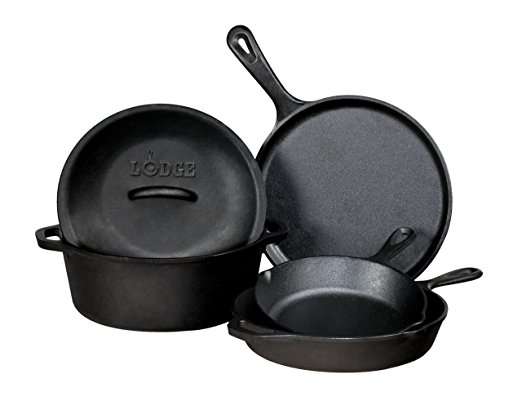
Here’s a multipiece set – this Lodge 5-Piece Pre-Seasoned Cast-Iron Cookware Set
1580+ reviews
Amazon.com

includes a 10.5-inch round griddle, 8-inch skillet, 10.25-inch skillet, 5-Qt. Dutch oven and 10.25-inch iron cover.

VERY inexpensive for the complete set, it is a great deal and meant to last forever.

Continue Reading


Anyone who lives in the country knows the power can go out during winter storms. Unless you live off grid and then you won’t even notice at all.

But for the rest of us, power outages can last hours. We have even had them last for days – not that it really matters too much to us.

As long as we don’t open freezers, we are fine. We’ve got heat from the woodstove, canned food in the pantry and handcranked lanterns.

Here’s an awesome tool to have when the power goes out (or for camping!).


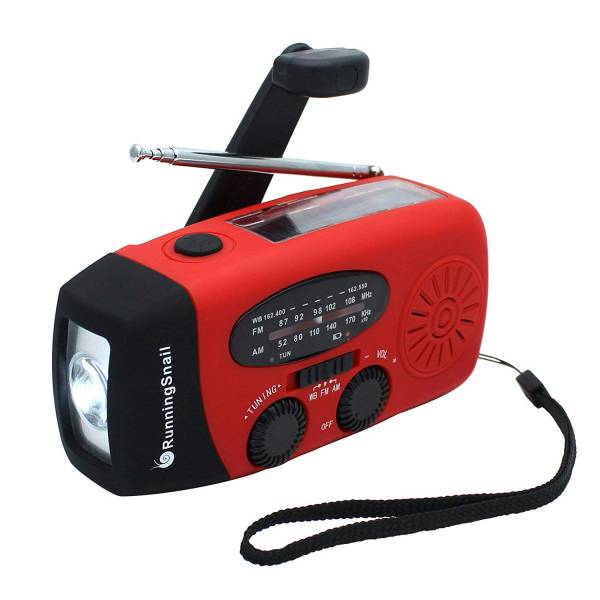
a hand cranked radio makes a great gift for preppers
photo credit: Amazon


Hand Crank Radio, Cell Phone Charger, Flashlight
1280+ reviews
Amazon.com

Recharge by hand crank, Micro USB charge OR solar – no adapter! AM/FM/NOAA weather radio for emergencies. The perfect gift for preppers and campers.

Continue Reading


Gifts for the Hiker

If you’re not on city water, chances are you are on your own well or a community well. No matter where your water comes from, things CAN go wrong with your water supply. Ever had a “boil water advisory” for the area you live in?

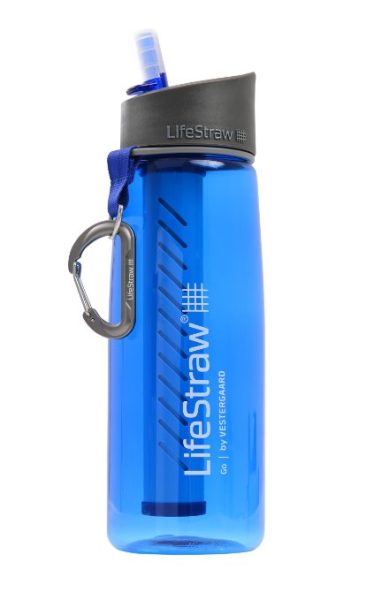
LifeStraw Go Water Bottle makes a great stocking stuffer or gifts for preppers
photo credit: Amazon


This LifeStraw Go Water Bottle (with Integrated 1,000 Liter LifeStraw Filter)
2400+ reviews
Amazon.com

is perfect for when you need to be sure you are drinking CLEAN water! It removes 99.9999% of Waterborne bacteria. An awesome gift for hikers and preppers and it’s good to have at home too.

Continue Reading


There you have it – our top picks for gifts for preppers. Off grid folks, campers and hikers will all love these – it’s presents like this that show you put lots of thought into picking something special for your loved one!


Looking for more Gift Ideas?

This book is a winner – the best book when it comes to butchering animals.

10 Awesome Gift Ideas for a Homesteader

Fun Educational Gifts for Kids!

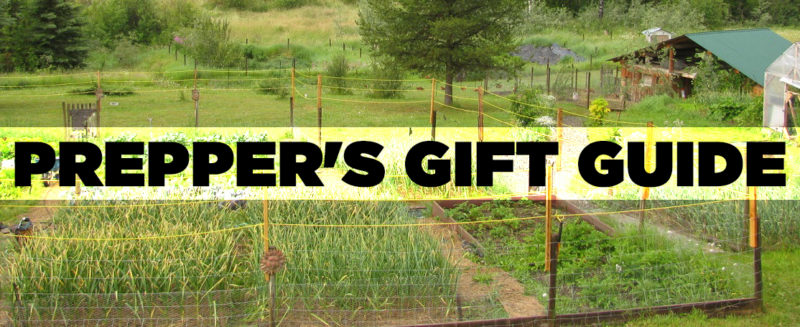
Prepper’s Gift Guide – for those wanting to be more self sufficient!

Great Gifts for the Chicken Lover!

Some great Gifts for Farmers

 
country homestead with a large garden, a barn and greenhouse


gifts for chicken lovers

Great Gifts for Chicken Lovers

Axe in a piece of wood

Practical Gifts for the Prepper

Perfect Gift Ideas for Gardeners

pine cones with red ribbons

10 Great Gifts for a Homesteader


Filed Under: Gift Guides

  • 1
  • 2
  • 3
  • …
  • 5
  • Next Page »

Connect With Us!

  • Email
  • Facebook
  • Instagram
  • Pinterest
  • Twitter

Search this site

Generic selectors
Exact matches only
Search in title
Search in content
Post Type Selectors
Search in posts
Search in pages

Our Most Popular Posts

Garlic cloves in oil

How to Preserve Garlic in Oil – and Other Ways to Store Garlic

a open jar of pickled brussel sprouts on a counter

Easy Pickled Brussels Sprouts Recipe (Water Bath Canning)

Privacy Policy

Read about our Privacy Policy

Disclosure

Please note that some of this site’s links are affiliate links, and CountryLivinginaCaribooValley.com is a participant in the Amazon Services LLC Associates Program, an affiliate advertising program designed to provide a means for us to earn fees by linking to Amazon.com and affiliated sites. At NO ADDITIONAL COST TO YOU, I will earn a small commission, if you purchase them. I recommend them as they are good products.

Theme Design By Studio Mommy · Copyright © 2026